Streaming Data from AWS MySQL to MotherDuck: Real-Time Analytics Made Simple
Paul Dudley
May 10, 2025
TL;DR
• Traditional batch ETL causes significant delays-stream MySQL to MotherDuck for real-time financial analysis and market decisions. • Hourly or daily schedules mean missed opportunities and slower customer responses. • This guide covers MySQL setup, S3 bucket creation, MotherDuck configuration, and Streamkap pipeline creation.
Introduction
Traditional batch ETL (Extract, Transform, Load) processes usually run on hourly or daily schedules, which can cause significant delays between the occurrence of events and their subsequent representation in your analysis. These delays can lead to missed opportunities, lost sales, and slower responses to customer demands. In today’s fast-paced and competitive online markets, having access to fresh, real-time data is crucial.
Consider a financial services company that needs to keep a close eye on market changes in order to make smart investment choices. By streaming data from MySQL directly to MotherDuck, the company can quickly analyze live market information. This allows them to adjust their investments on the fly and react to what’s happening in the market. Delays in obtaining this data could lead to missed opportunities or increased risk, affecting profits.
| Prerequisites | You’ll need accounts for AWS, MotherDuck, and Streamkap. |
|---|---|
| Setting up a New RDS MySQL From Scratch | This section will guide you through setting up MySQL in AWS RDS. |
| Configuring an Existing RDS MySQL | If you already have a MySQL database, you’ll need to tweak its settings to make it compatible with Streamkap. |
| Setting up a New S3 Bucket | Create a new S3 bucket to store and transfer data between your AWS setup and MotherDuck. |
| Configuring MotherDuck to S3 Bucket | Link your S3 bucket to MotherDuck so you can import data for analysis. |
| Streamkap Setup | Set up AWS MySQL as your data source, use MotherDuck as the destination, and connect them through a data pipeline. |
Looking for real-time insights right at your fingertips? Start streaming today!
Prerequisites
Before diving in, make sure you have the following accounts set up:
- Streamkap Account: You’ll need a Streamkap account with either admin or data admin access. If you don’t have one yet, no worries! signing up is a breeze and only takes a few clicks.
- MotherDuck Account: You also need a MotherDuck account with admin access. If you haven’t signed up yet, it’s super quick and easy to do.
- Aws Account: To stream data from MySQL, you must have an active AWS (Amazon Web Services) account that gives you access to RDS (Relational Database Service) and an S3 bucket for storage. If you’re new to AWS, you can sign up to get started.
Note: Setting up your AWS account requires a valid credit or debit card for verification.
Setting Up AWS RDS MySQL for Streamkap
AWS RDS MySQL is one of the most popular databases out there, used by countless businesses every day. Amazon has simplified the process of utilizing its services, allowing individuals, even those unfamiliar with the platform, to establish an RDS MySQL instance from the ground up within a few minutes. Additionally, if you already have an instance operational, incorporating the necessary configuration for Streamkap streaming is a straightforward process.
In this section, we’ll go over different ways to set up and configure AWS RDS MySQL, making sure it works smoothly with Streamkap.
Setting up a New Source Database from Scratch
Step 1: Log in to the AWS Management Console
- Log in to your AWS Management Console and type “RDS” on the search bar.
- Click on “RDS” as shown below

Step 2. Create an RDS instance for the source database
- Upon accessing the RDS dashboard, locate the Databases tab situated on the left side of the interface. Click on this tab and subsequently select DB Instances within the Resources section.

- In the RDS Databases section, select the Create database option.
Note: To integrate with Streamkap, ensure that the selected region is one of the following:
-
Oregon (us-west-2)
-
North Virginia (us-east-1)
-
Europe Ireland (eu-west-1)
-
Asia Pacific - Sydney (ap-southeast-2)
-
Select Standard create and MySQL from the Engine options.
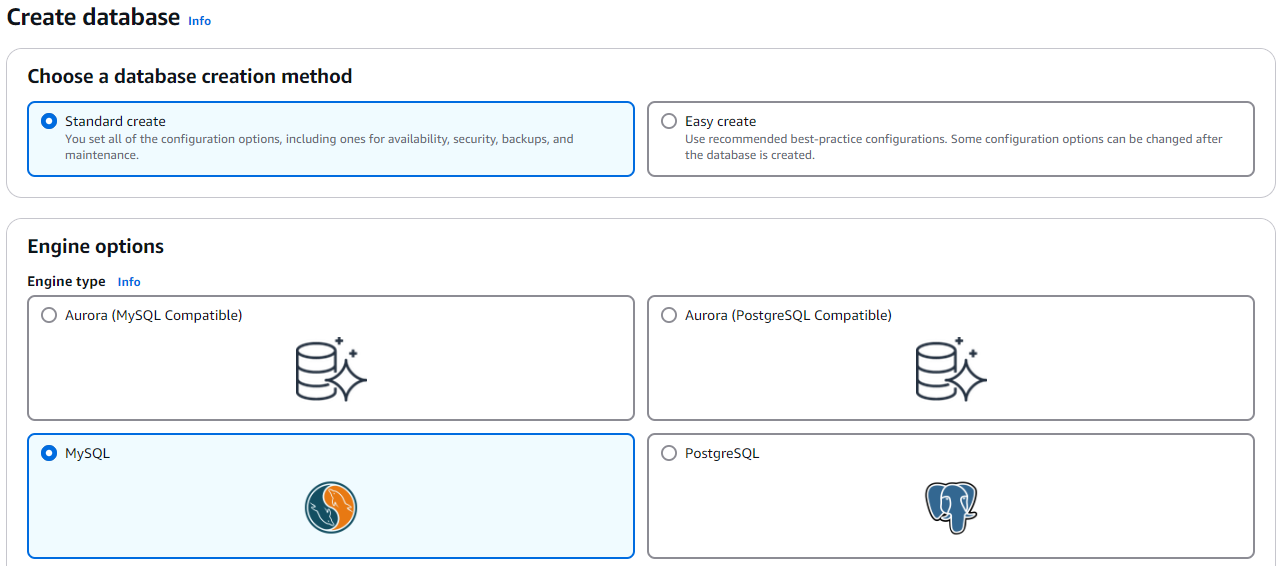
- Scroll down and ensure the Engine version is below 8.4.

- Under the Templates section choose between “Production”, “Dev/Test”, “Free tier” based on your need.
Note: If you’re setting up sub-second latency streaming for the first time, we suggest you go with the “Free tier” option. This way, you can get some hands-on experience with the setup process without having to worry about extra cloud costs. Check out the example below for more details.

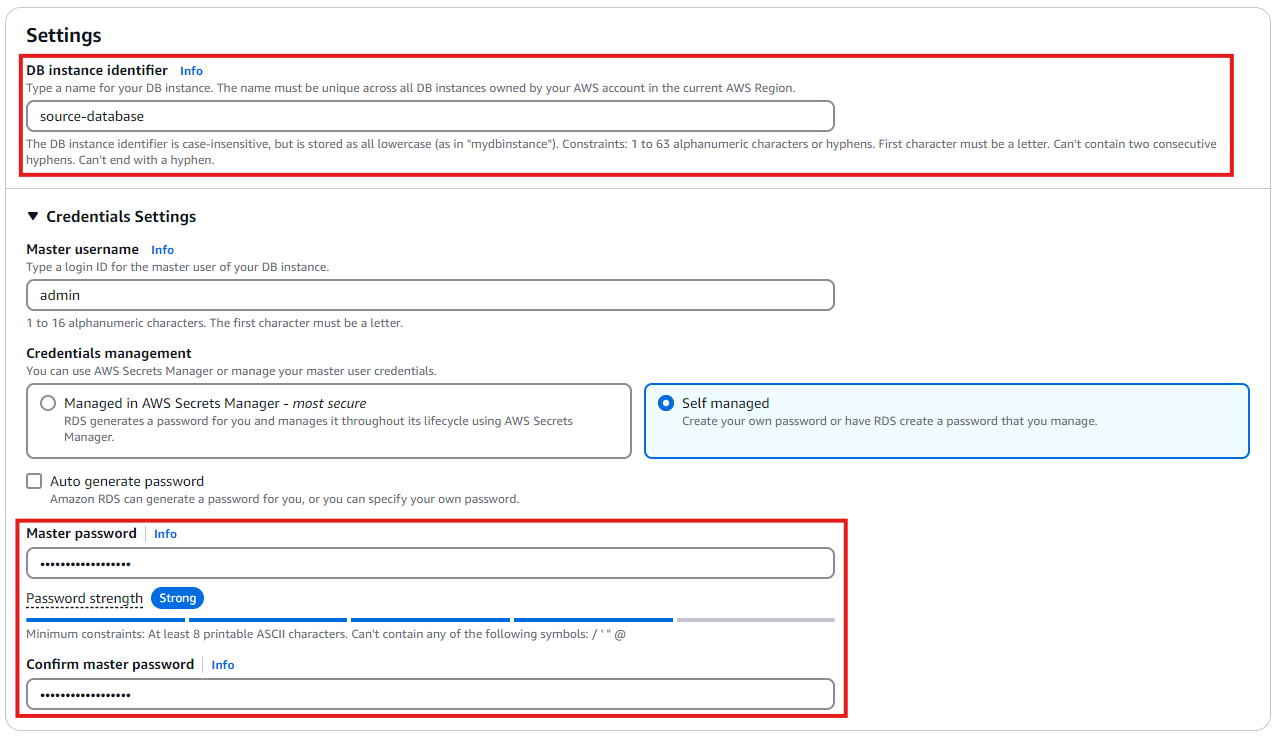
- Ater Clicking “Free Tier”, enter a DB instance identifier, for example source-database.
- Under Credentials Settings, select Self-managed and enter a password for the database.
- Enable public access, select ‘Create new’ for the VPC security group, and enter a name in the “VPC security group name” field.

- Under Additional configuration, enter the Initial database name.

- Click Create database to start the database creation process.

Step 3. Create a Parameter group for Streamkap compatibility.
To effectively enhance your AWS RDS MySQL instance for Streamkap, implementing several mandatory adjustments is essential. The default configuration can be improved significantly, and by modifying specific database settings, you can achieve an impressive latency of under one second, ensuring an optimal streaming experience.
We will create a new parameter group and implement the following changes:
- Set `gtid-mode` to ON
- Set `enforce_gtid_consistency` to ON
- Change `binlog_format` to ROW
- Set `binlog_row_image` to full
- Attach the new parameter group to our MySQL instance.
- First, on your RDS dashboard click on “Parameter groups” on the left side as shown in the following screenshot.

- Open the Parameter groups section in AWS RDS and click Create parameter group.

- Give your parameter group a name and a description (eg: source-database). Select MySQL Community as the Engine type and mysql8.0 as the Parameter group family.

- Click Create and verify that the parameter group appears in the list.

- Open the newly created parameter group and click Edit.

- Type “gtid-mode” and add “ON” as value as shown below.

- Type “enforce_gtid_consistency” and add “ON” as value as shown below.

- Type “binlog_format” and add “ROW” as value as shown below.

- Click Save changes.
- Back in your RDS instance, click Modify.

- Scroll down to Additional Configuration and select the new parameter group, then click Continue.

- Choose to apply your changes immediately and click Modify DB instance.
Step 4: Test Your MySQL Instance for Streamkap Compatibility
It’s essential to ensure that any modifications made to your MySQL instance are accurately reflected in the database. To verify this, you can connect to your RDS MySQL instance using tools such as DBeaver. Once connected, execute the following command to confirm that everything is functioning as expected.

Note:
If you run into a timeout error while trying to access your AWS MySQL instance from your local computer, it might be due to your security group not letting your computer connect. To fix this, you’ll need to change the inbound rules of your security group to make sure it allows access from your local machine to your cloud MySQL instances.
Configuring an Existing Source Database for Streamkap Compatibility
If you have an AWS RDS MySQL instance, check its compatibility with Streamkap by running a quick test. This step is necessary to confirm if your instance will work with Streamkap.
Here’s how to run the test:
- Connect to your RDS MySQL instance using a tool like DBeaver.
- Run the command below to ensure everything is working correctly. This verifies that your system is ready for integration with Streamkap.
To ensure your RDS instance is compatible with Streamkap, you’ll need to check that it returns the following settings:
- gtid_mode: This should be set to ON. This setting helps manage transactions and replication smoothly.
- enforce_gtid_consistency: Also needs to be set to ON. This ensures that your database maintains consistency with its Global Transaction Identifiers (GTIDs).
- binlog_format: This should be set to ROW. This format logs changes at the row level, which is essential for accurate replication.
- binlog_row_image: This one needs to be set to FULL. This ensures that all the data related to each change is logged, which is crucial for Streamkap to work correctly.
If your test doesn’t show these values, you have make changes to the RDS parameter group. You can either modify your existing custom RDS parameter group or create a new one that includes these settings. Making these adjustments will help enable Streamkap compatibility and ensure smooth operation.
We will now create a Custom RDS Parameter Group.
Step 1: Create a Custom RDS Parameter Group
- On your RDS dashboard click on “Parameter groups” on the left side and then click on “Create parameter groups” as shown in the following screenshot.
- Give your parameter group a name and optionally a description. Select MySQL Community as the Engine type and mysql8.0 as the Parameter group family.
- Click Create and verify that the parameter group appears in the list.
Step 2: Modify Parameter Group Values
- Open the newly created parameter group and click Edit.
- Type “gtid-mode” and add “ON” as value as shown below.
- Type “enforce_gtid_consistency” and add “ON” as value as shown below.
- Type “binlog_format” and add “ROW” as value as shown below.
- Click Save changes.
- Back in your RDS instance, click Modify.
- Scroll down to Additional Configuration and select the new parameter group, then click Continue.

- Scroll down and click Continue.

- Click Apply immediately and then Modify DB instance.
With these changes, Streamkap will be able to receive data streams from MySQL and you can use the database as a source.
MotherDuck Set Up
MotherDuck is simple and efficient data warehouse platform built on DuckDB. It enables users to manage large volumes of data quickly and effortlessly, thanks to its serverless architecture, which allows for the execution of complex queries without the need for extensive infrastructure.
This guide will provide step-by-step instructions on how to set up your MotherDuck account and integrate it with Streamkap.
Setting up a New S3 Bucket from Scratch
Step 1: Log in to the AWS Management Console
- Log in to your AWS Management Console and select the region you specified in the above section.

Let’s create a bucket now:
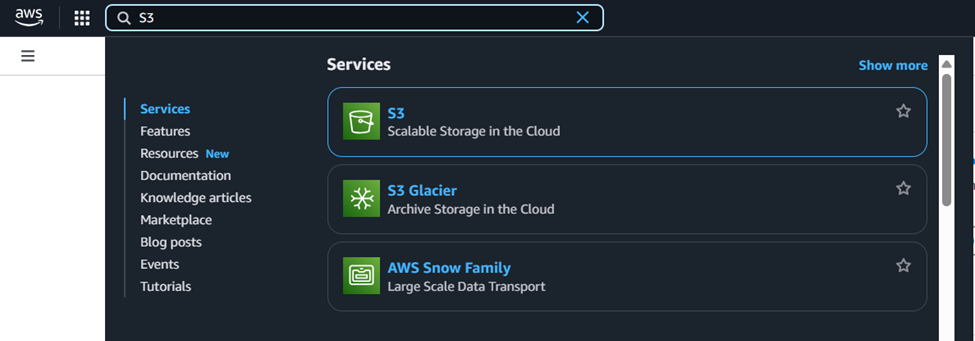
- Go to the search bar, type “S3,” and select S3.
- Now click “Create bucket”.

- Give your S3 bucket a unique name that’s easy to identify later.

- Next, click ‘Create bucket’ to proceed with the setup.

Step 2: Generate your AWS credentials
- Type “IAM” in the search bar, then select IAM section.

- In the IAM dashboard’s left sidebar, click Users.
- Click the “Create user” to create a new user.

- In the “User name” field, enter the desired name (eg, s3-access) and click Next to proceed.

- On the “Permissions options”, select ‘Attach policiesdirectly’.
- Click “Create policy” to open the policy editor in a new tab or window.
Note: After you click Create Policy, you’ll be taken to a different page. Once you finish creating your policy, make sure to come back to this page and refresh it. We’ll go over this more later!

- Select the S3 option from the drop-down menu.

-
In the Policy editor, go to the JSON tab and paste the following policy code.
-
Replace ‘motherduck-streamkap-data’ with your S3 bucket name, then click Next.

- Fill in the Policy name and click Create Policy.

As mentioned earlier, you’ll now need to go back to the previous page where you clicked on Create policy.
- Now, click the refresh icon to load your new policy.
- Search for the policy name, check the box next to it, and click Next to continue.

- After clicking Create user, you’ll be redirected to the Users page.
- Click on the username you just created (e.g., s3-access) and click Create access key to generate credentials.

- Select the Third-party service option, add a description if needed, then click Next and Create access key.

- Copy and securely save the Access key ID and Secret access key for connecting Streamkap & MotherDuck.
Connecting MotherDuck to an S3 Bucket
- Log in to your MotherDuck account and open MotherDuck’s SQL editor.
- Head over to Settings > Secrets and add your new secret there.

- Run this command in the MotherDuck’s SQL editor to test if the secret is correctly linked to your S3 URL (replace ‘motherduck-streamkap-data’ with your actual external table name).

Streamkap Set Up
Streamkap can create fast and reliable data pipelines that allow you to analyze and respond to large amounts of data in real time. This means your team can make informed decisions quickly, keeping you ahead of the competition. Whether you’re looking to improve your data analysis processes or enhance your business intelligence, Streamkap makes it easy to get insights when you need them most.
Configuring Streamkap Connectors and Pipeline
Step 1: Adding MySQL as a Source Connector
If the above steps were followed as described, your AWS MySQL instance should be Streamkap compatible.
Note: You must have admin or data admin privileges to continue with the following steps.
- Log in to Streamkap.

On the left side navigation pane
- Click on Connectors
- Click on the Sources tab
- click the + Add button
- Enter MySQL in the search bar and select it from the list of available services, as depicted below.

- Populate the MySQL connection with the name, hostname, username, and password provided in your database dashboard.

- Manually add your MySQL database name and also all tables you want to stream.
- In this demo, we’ve added the `source-database` database along with the table `orders`.

- Once the database and tables are added, click “Save”.
- A new connector will be listed in “Connectors > Sources”.

Step 2: Adding the MotherDuck as a Destination Connector
- To add MotherDuck as a destination, navigate to the “Connectors” tab on the left side pane, click on Destination, and then click the +Add button.
- Search and click on the MotherDuck option.

- Enter the Access Key and Secret Access Key, select the same region as your S3 bucket, set the file type to Parquet, and Gzip as the compression type.

- After entering the configuration details, click Save in the bottom right corner to complete the setup.
- A MotherDuck connector with an `Active` status will appear in the Connectors > Destinations.

Step 3: Creating a Streamkap Pipeline
- Navigate to Pipelines on the left side and click Create to create a pipeline between the source and destination.

- Select your MySQL connector as Source and your MotherDuck connector as Destination, and click on Next in the bottom right corner.

- Select the database and the collections that you want to stream. Click Next.

- Optionally add a tag, then click Save.

- Once the pipeline is successfully created, it will appear with its status displayed as Active.

Validating the Streamkap Pipeline Integration
To ensure that the entire pipeline is working properly from start to finish, we’ll add a new entry to the orders table in our AWS MySQL database. This new order will then be streamed and reflected in the orders table of the MotherDuck warehouse, allowing us to confirm that data flows smoothly from one system to the other.
- To initiate the data flow through the pipeline, please add a new record to the orders table. You can do this by using a tool such as DBeaver to connect to your RDS MySQL instance.

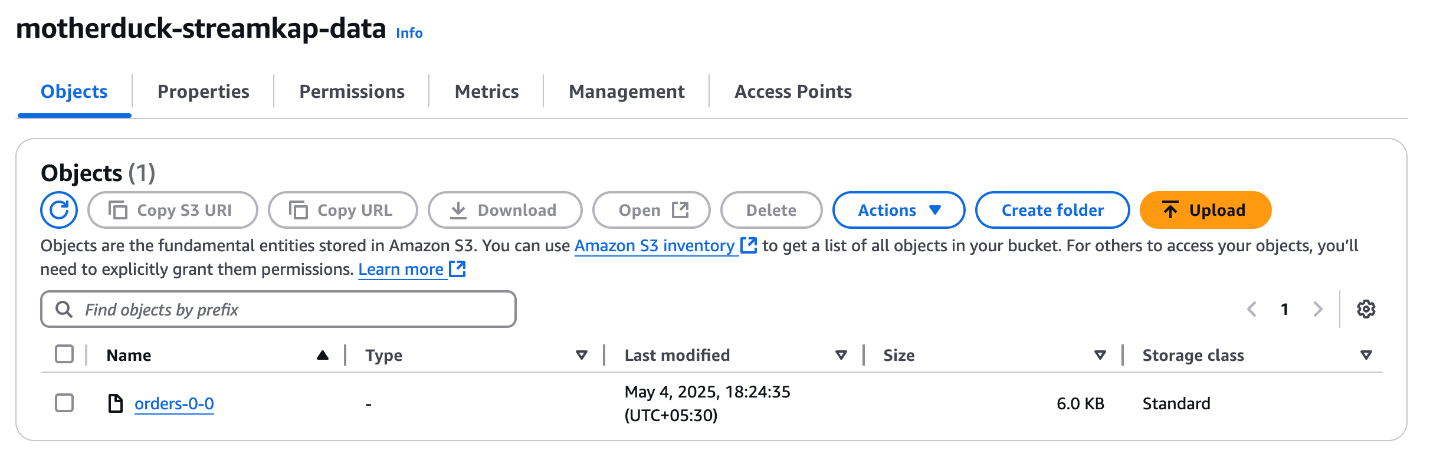
- The S3 bucket will be populated with the newly inserted data.
- The record gets streamed to the orders table in MotherDuck warehouse in real-time.


What’s Next?
Thank you for reading this guide. If you have other sources and destinations to connect to in near real-time check out the following guides.
For more information on connectors please visit here.
Paul Dudley
LinkedInAuthor Bio
Paul is the CEO and Co-Founder of Streamkap
Published
May 10, 2025
TL;DR
• Traditional batch ETL causes significant delays-stream MySQL to MotherDuck for real-time financial analysis and market decisions. • Hourly or daily schedules mean missed opportunities and slower customer responses. • This guide covers MySQL setup, S3 bucket creation, MotherDuck configuration, and Streamkap pipeline creation.
Related blog posts
.png)
Why Apache Iceberg? A Guide to Real-Time Data Lakes in 2025
Apache Iceberg brings SQL tables to cloud storage with ACID transactions and time travel. Learn why it's essential for 2025.
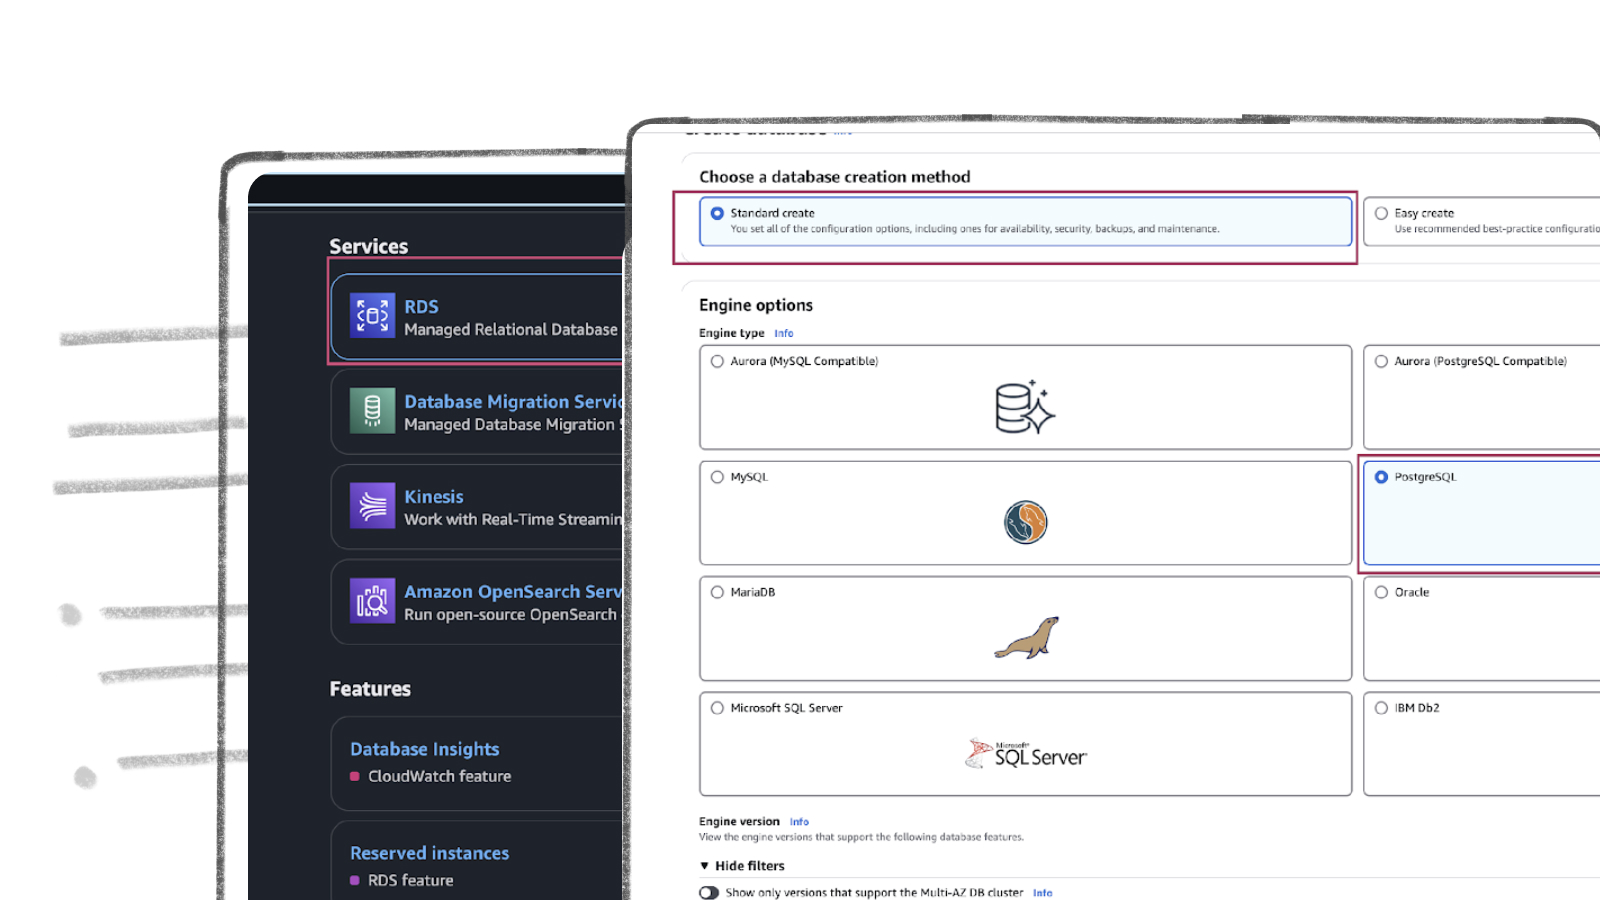
AWS RDS PostgreSQL Set Up
AWS RDS PostgreSQL stands out as one of the most widely used production databases. Its global adoption and everyday usage have prompted Amazon to make it exceptionally user-friendly. New users can set up an RDS PostgreSQL instance from scratch in just a few minutes.
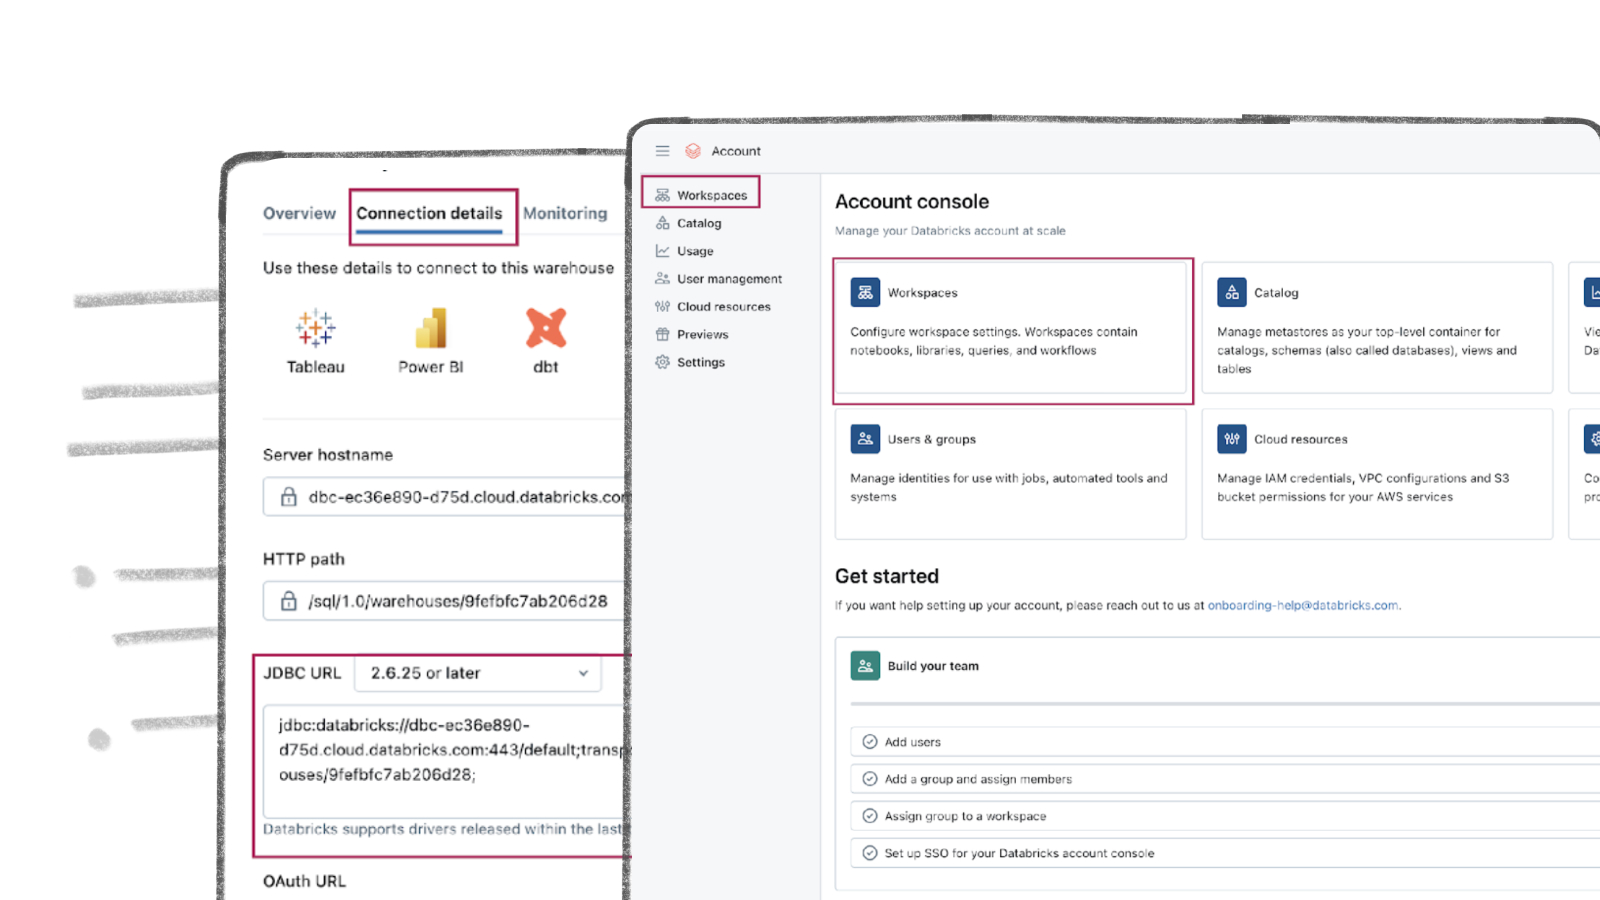
Databricks Warehouse Set Up
Getting started with Databricks is a breeze, regardless of your experience level. This guide provides clear instructions on how to create a new account or use your existing credentials, ensuring a smooth and efficient streaming process.