Streamkap Set Up
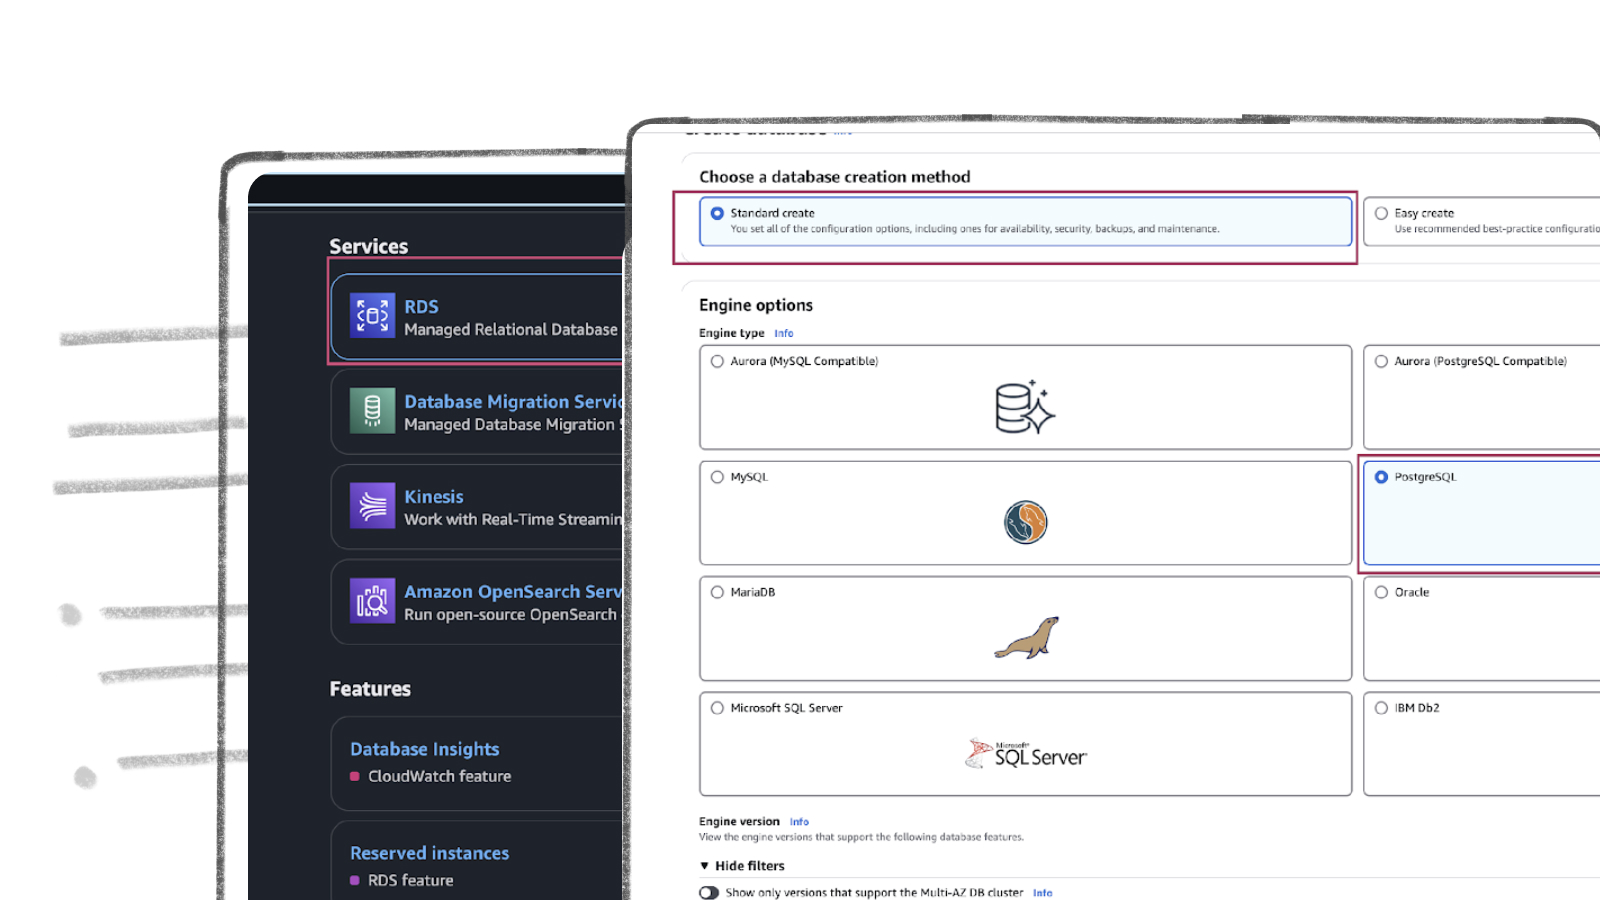
To connect Streamkap to AWS RDS PostgreSQL, we need to ensure the database is configured to accept traffic from Streamkap by safelisting Streamkap’s IP addresses in the PostgreSQL instance.
Note: If your AWS RDS PostgreSQL instance accepts traffic from anywhere from the world you can move on to the “Configuring AWS RDS PostgreSQL Database for Streamkap Integration” section.
Safelisting Streamkap’s IP Address
Streamkap’s dedicated IP addresses are
| Service | IPs |
|---|---|
| Oregon (us-west-2) | 52.32.238.100 |
| North Virginia (us-east-1) | 44.214.80.49 |
| Europe Ireland (eu-west-1) | 34.242.118.75 |
| Asia Pacific - Sydney (ap-southeast-2) | 52.62.60.121 |
When signing up, Oregon (us-west-2) is the default region. Let us know if you need it to be elsewhere. For more information about our IP addresses please visit this link.
- In order to safelist one of our IPs, open your RDS PostgreSQL instance’s security group with type = “CIDR/IP - Inbound” and click “Edit inbound rules”.
- Click on “Add rule”, choose “PostgreSQL” as type, “Custom” as source, and paste any of our relevant IP addresses followed by “/32”. For instance, if you want to add IP address for Oregon in the custom box it would look like “52.32.238.100/32” as shown in the below image.

Configuring AWS RDS PostgreSQL Database for Streamkap Integration
Streamkap recommends creating a dedicated user and role within your PostgreSQL instance to facilitate secure and controlled data streaming. This approach ensures granular access management and follows best practices for database security.
Access your PostgreSQL database via a tool like Dbeaver and run the following code
Step 1: Create a dedicated user and role for Streamkap
```sql
```
Note: You must plug in your own password
Step 2: Attach role to user and grant replication privileges to the role
```sql
```
Step 3: Grant permissions on the database
```sql
```
Note: In this guide our initial database at the time of configuration was “source_database”. Plug in your own database name if it is different from the one mentioned earlier.
Step 4: Grant permissions on schema(s), table(s), and future table(s)
```sql
```
Note: In this guide our initial schema at the time of configuration was “public”. Plug in your own schema name if it is different from the one mentioned earlier.
```sql
```
Step 5: Enabling Streamkap signal schema and table
Streamkap will use the following schema and table to manage snapshot collections.
```sql
```
Step 6: Creating sample table
Let’s create a sample table from which Streamkap will stream data. If you already have an existing table(s), you would like to stream from, you can skip this step.
```sql
```
Step 7: Create publication(s), and replication slot
We can create publication(s) for all tables or for only the sample orders table that was created few seconds ago or for a select group of tables
**```**sql
```
```sql
```
Collapsable Button Adding RDS PostgreSQL as a Source Connector
Before proceeding to add RDS PostgreSQL as a source connector
- Ensure that our IP address is safelisted, or that your RDS PostgreSQL instance is configured to accept traffic from Streamkap by default.
- Make sure you have successfully ran all SQL code mentioned in the “Configuring AWS RDS PostgreSQL Database for Streamkap Integration” section
The above two points mentioned are mandatory in order to successfully connect your AWS RDS PostgreSQL as a source with Streamkap.
Note: If you are using PostgreSQL 16, you can connect your clone to Streamkap, and it will function as expected. However, for PostgreSQL 15 or earlier, you must connect directly.
Step 1: Sign-in to Streamkap
- Visit the Streamkap sign-in link and log in. You will land in the dashboard page.
Note: You need admin or data admin privileges to proceed with the subsequent steps.
Step 2: Create a PostgreSQL source connector
- Click “Connectors” on the left side, then click on “Sources” tab, and then click on the “+ Add” button as depicted below.

- Scroll and choose “PostgreSQL”. You will land on the new connector page.
- You will be requested to fillsome text
- Name – Your preferred name for the PostgreSQL source within Streamkap
- Hostname – Copy Endpoint under the “Connectivity & security” tab on your RDS PostgreSQL instance
- Port - The default port is 5432. If you have changed the port number, make sure to replace it accordingly.
- Username – Streamkap_user. We created this in the previous section
- Password – Your user’s password
- Database – source_database if you followed the guide or your own database name
- Signal Table Schema – Streamkap_signal if you followed the previous step or enter your own schema name. some text - Note: By default, you will see “public” as Signal Table Schema. Please replace accordingly
- Heartbeat – Turn the toggle “On” and fill Streamkap_signal as value if you followed the previous step or enter your own schema name.
- Replication Slot Name - Streamkap_pgoutput_slot if you followed the previous step or enter your replication slot name.
- Publication Name – Streamkap_pub if you followed the previous step or enter your publication name.

If you decide to not use SSH Tunnel press “Next” and go to step 3.
If you decide to connect to your AWS RDS PostgreSQL via an SSH Tunnel ensure
- Your bastion host / SSH Tunnel server is connected with your PostgreSQL instance
- Your bastion host / SSH Tunnel server allows traffic from anywhere or safelisted Streamkap IP Address
Login to your Linux SSH Tunnel host and run the following commands. If you are using a windows server visit our SSH Tunnel [guide](https://docs.Streamkap.com/docs/ssh-tunnel? utm_source=blog&utm_medium=referral&utm_campaign=how-to-stream-data-from-postgresql-to-databricks-using-Streamkap) for windows.
After running the above commands, fetch the SSH Public Key from Streamkap’s PostgreSQL source as depicted below.

Replace with the SSH Public key copied from earlier and run the following code
After your SSH Tunnel server is restarted plug in your SSH Tunnel server’s public IP address as SSH Host in Streamkap and press “Next”. You will land on the schema and table selection page like the following.
Step 3: Plugging in Schema and Table Names

If you followed the guide, your PostgreSQL database should now include an “orders” table in the “public” schema. If you are using a different schema, update the relevant schema and table names, then click “Save.”
If all the steps were completed correctly, you should be able to successfully create a PostgreSQL source connector as shown below.

- In case you encounter any fatal errors, they could be caused by one of the following:some text
- Our IP addresses were not safelisted.
- Incorrect credentials.
- Incorrect database, schema, or table name.
- Insufficient permissions to query the table.
Adding a Destination Connector
To add Databricks as a destination connector click on “Connectors” on the left side, then click on “Destinations” and press the “+ Add” button.

You will land in the Databricks destination connection configuration page as shown below.

Plug in your desired
- Name
- Choose “append” or “insert” as ingestion mode
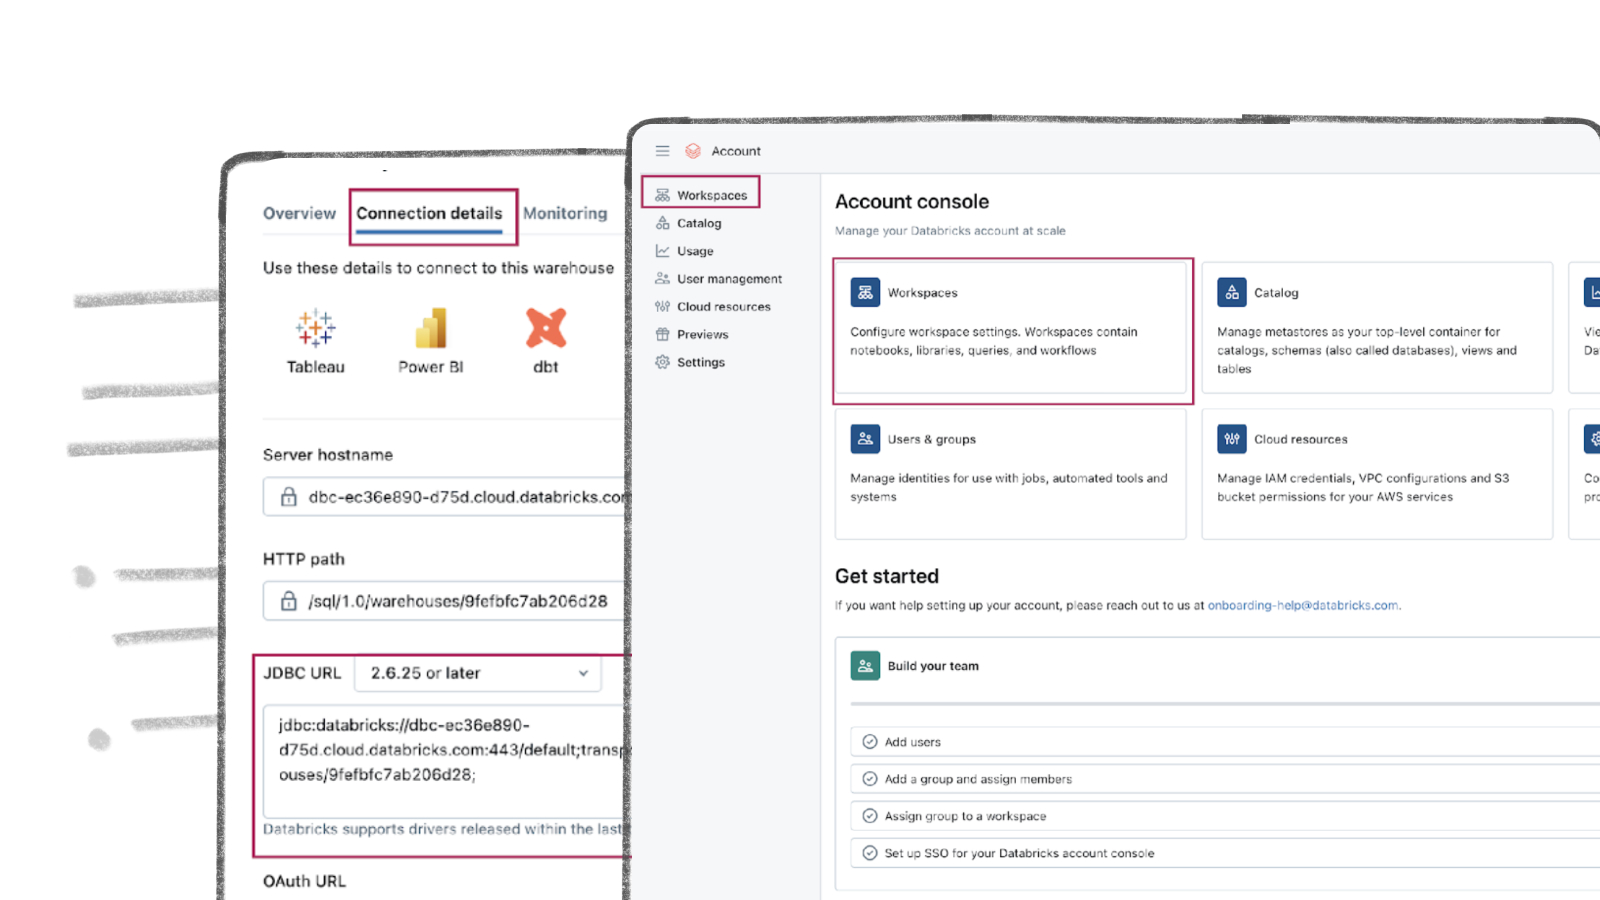
- Paste the personal access token and JDBC url retrieved from Databricks Warehouse Set Up section of this guide
- Key in the destination schema of your choice
Press “Save” on the right-side bottom of the screen.
If all goes well your Databricks destination will be created with status as “Active” as shown below.

Adding a Pipeline
Click on “Pipelines” on the left side of the screen, click on “+ Create” and then choose your relevant Postgres source from “select a Source” and your Databricks destination from “select a Destination” as depicted below.

Select the “Orders” table and the “Public” schema if you followed the guide. Otherwise, make the appropriate selections and click “Save.”

Upon successful creation of the pipeline, it should look similar to the below screenshot with status as “Active”.

Go to your Databricks warehouse and query the “orders” table to see sub-second latency streaming in action as shown below.

By design Your “Orders” in the destination will have the following meta columns apart from the regular columns.
| Column Name | Description |
|---|---|
| _STREAMKAP_SOURCE_TS_MS | Timestamp in milliseconds for the event within the source log |
| _STREAMKAP_TS_MS | Timestamp in milliseconds for the event once Streamkap receives it |
| __DELETED | Indicates whether this event/row has been deleted at source |
| _STREAMKAP_OFFSET | This is an offset value in relation to the logs we process. It can be useful in the debugging of any issues that may arise |

.png)

